Clear acrylic 3 mm, printed
Quantity: 1; Dimensions in CM: 100x100; Panel Type: 3 mm clear Plexiglass; Mirror Print: No; Cut: Straight Cut; Drilling: Without Holes; Packaging: In-Store Pickup; Print type: Direct UV printing
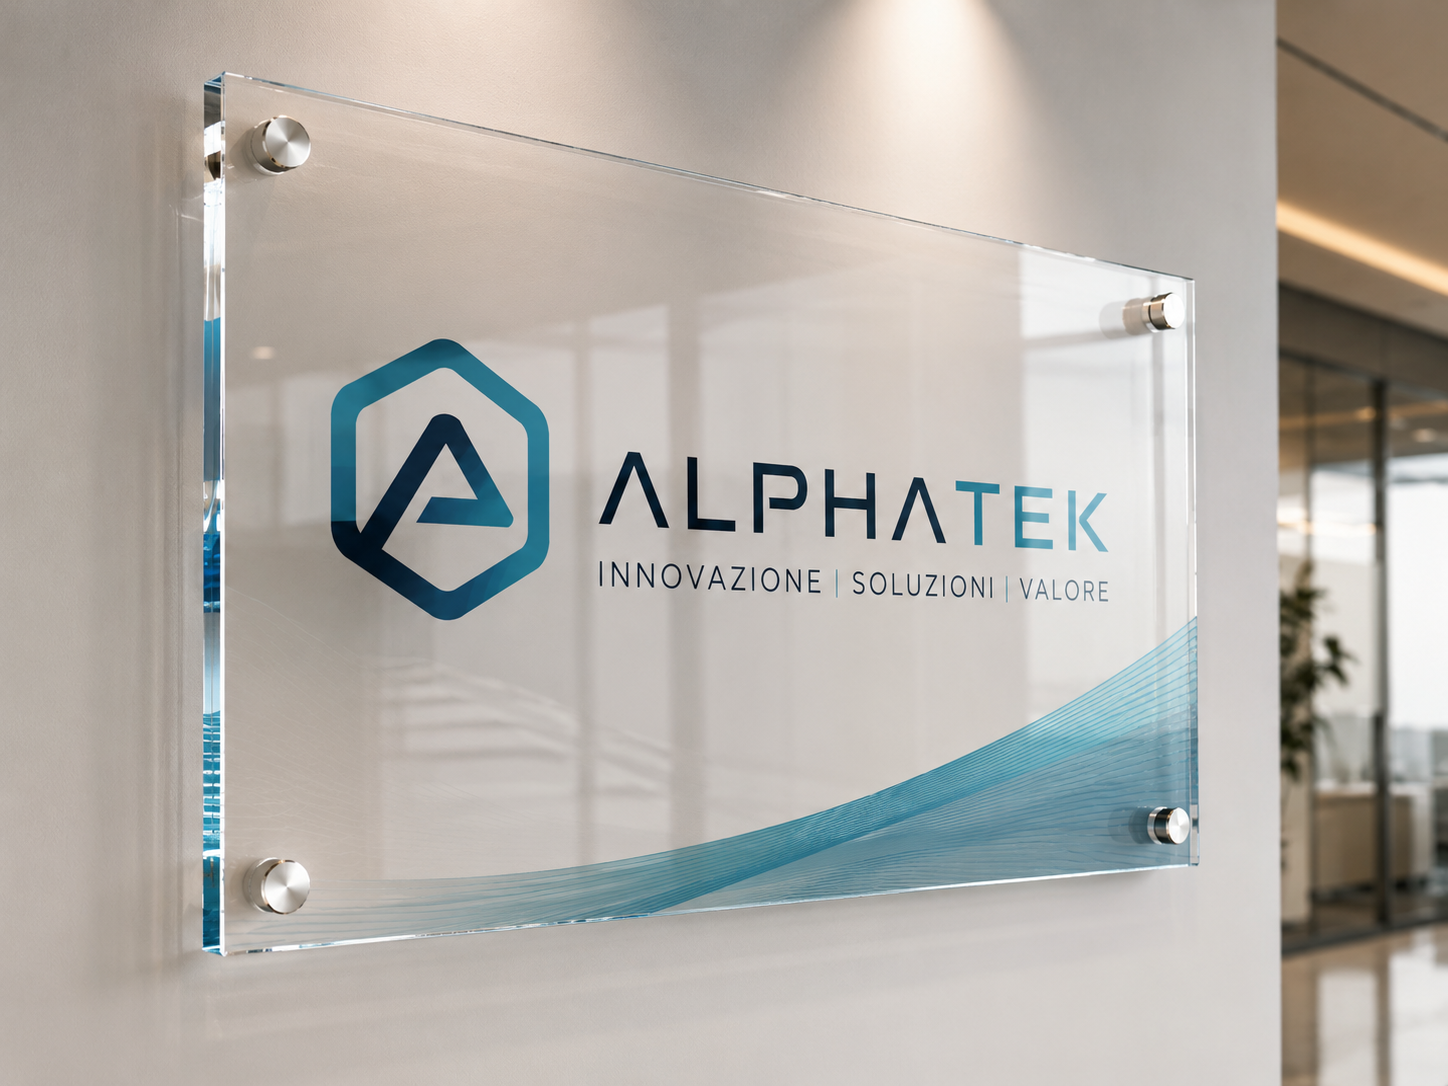
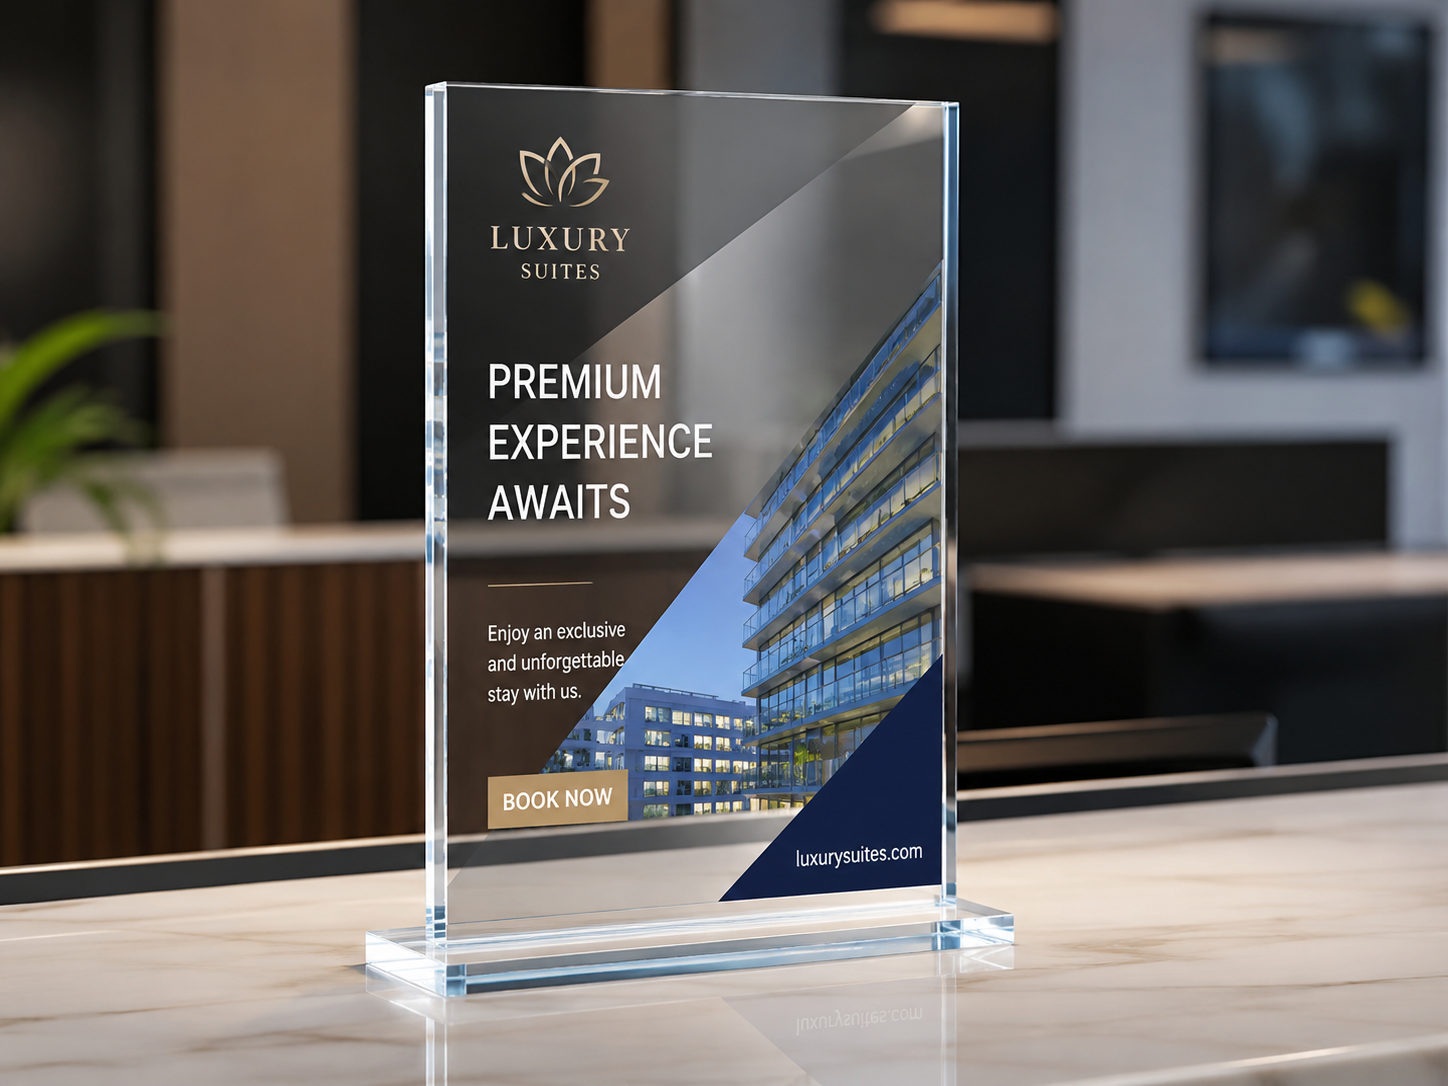
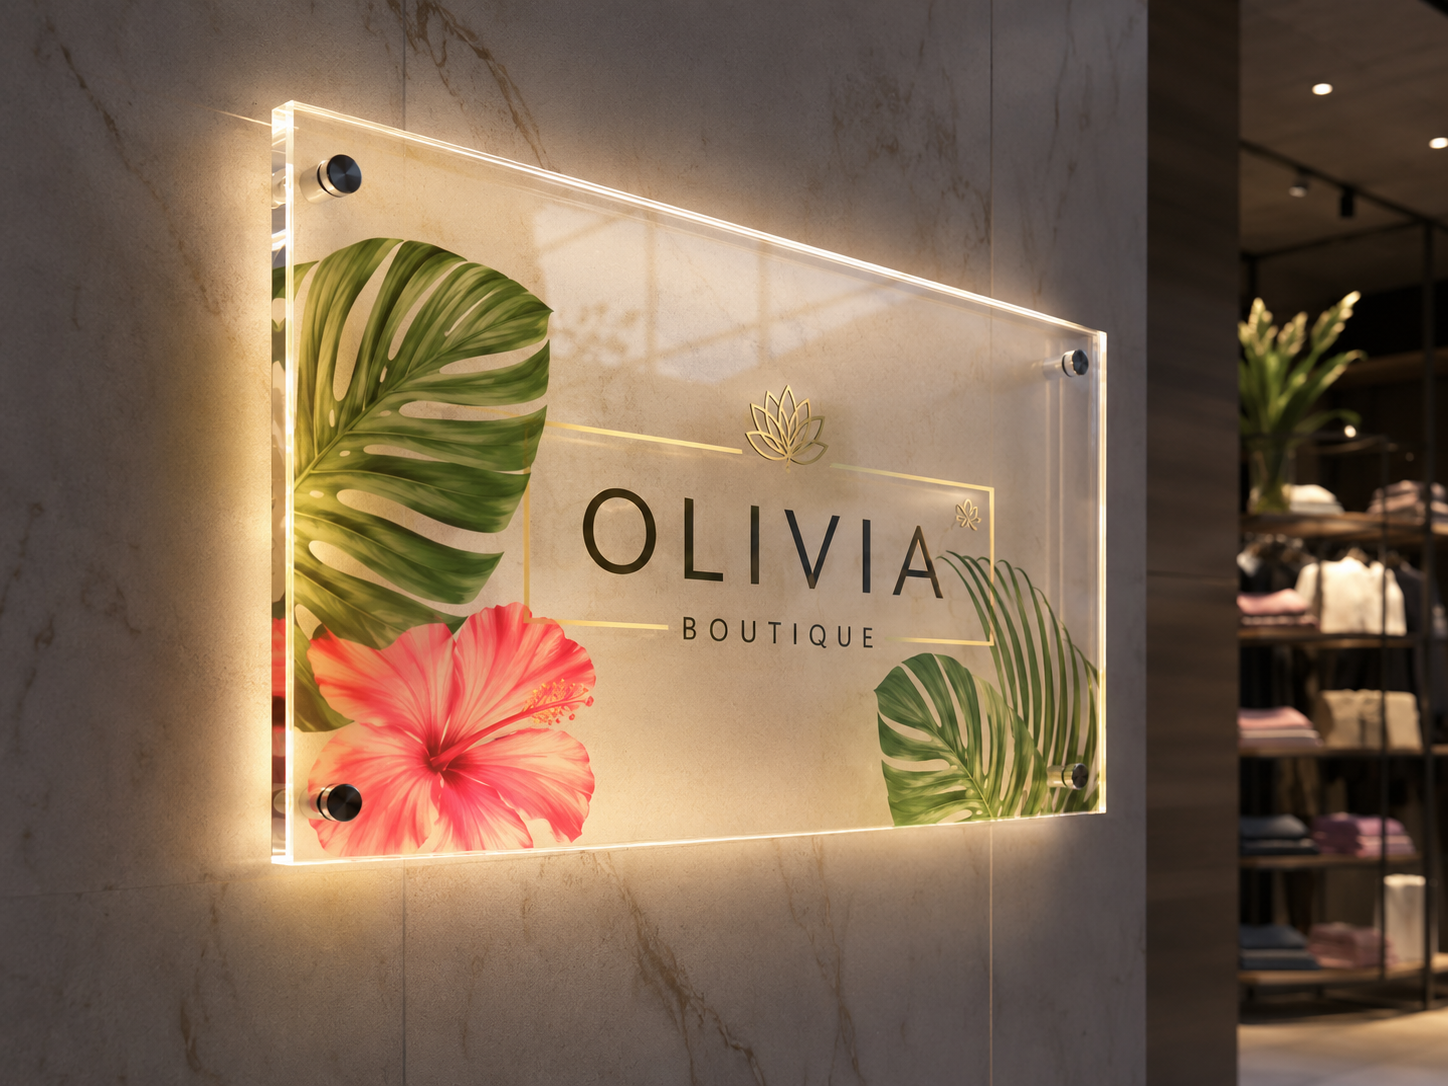
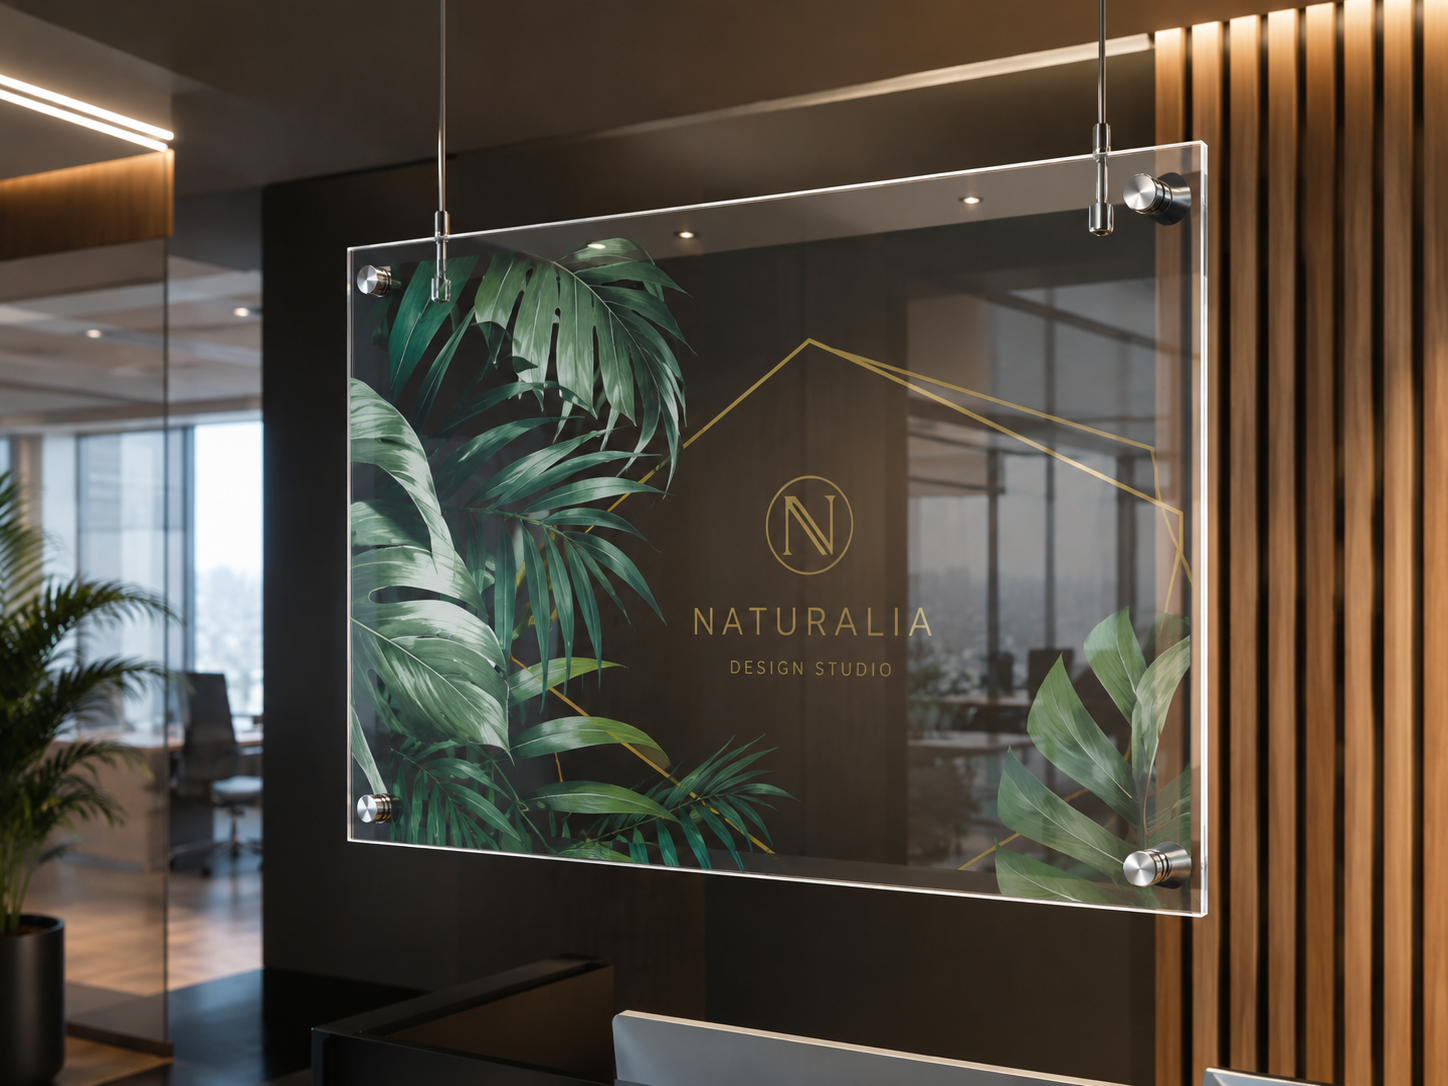
Clear plexiglass printing gives you a clear sheet panel in 3, 5 or 10 mm with your graphic. You can choose direct UV printing or the application of adhesive PVC for illuminated signs. On a clear support, white printing matters: on selected areas, only where needed, or over the whole graphic. If the image is to be read through the sheet, specify mirror printing. Cutting is straight or shaped, and drilling is optional. Sizes are custom and you can order from 1 to 250 pieces. It is used for company signs, signage, countertop displays and interior decoration.
Take a look at these too
Clear plexiglass panels with custom printing
A clear plexiglass panel lets you see what is behind the sheet, so the transparency becomes part of the graphic design. That is why it is chosen for company signs, signage, countertop displays and decorative indoor applications. The sheet is printed, cut and drilled according to your instructions.
Uses of printing on clear plexiglass
- Signs for offices and companies: name, logo and opening hours on a sheet mounted away from the wall.
- Signage and reception panels: the brand appears to float in front of the wall.
- Countertop displays and price holders: small formats for shops, hotels and restaurants.
- Pictures and photos: images printed on plexiglass to decorate offices and homes.
- Indoor signage: directions to rooms, floors and departments.
Sheet thickness
In the Panel Type option, choose clear plexiglass in 3, 5 or 10 mm. The 3 mm is the thinnest sheet, the 10 mm is the thickest and has the most visible edge. The 5 mm sits in between. For a wall sign, thickness affects the final look, because the edge of the sheet stays visible.
Print type and adhesive
- Print Type: direct UV printing, adhesive PVC application, or no print if you only want the processed sheet.
- Material: for the application, adhesive PVC for illuminated signs is provided.
- Material Quality: Standard or Long Life.
- Lamination: none, gloss with UV filter or matte with UV filter.
- Lamination Quality: Standard or Extra UV Guard.
White printing and mirror printing
These are the two options specific to clear plexiglass, and it is worth understanding them before you buy.
- White Printing: Selective Areas, when white is needed only in some areas and the rest must stay transparent; Full Area, when you want a white base under the entire graphic.
- Mirror Printing: No, Yes or Not sure. Mirror printing flips the image like a mirror, as needed when the graphic is viewed through the sheet. If you are in doubt, select Not sure.
On a clear sheet, colors without a white base let the background show through. With selective white you decide which parts of the graphic should be opaque: a solid logo on a transparent background, for example. With full white the print covers the whole area, and the transparency remains only where there is no graphic.
Cutting, holes and packaging
- Cutting: straight or shaped. The first gives a rectangular sheet, the second follows the shape you specify.
- Drilling: no holes, four holes at the corners, two holes at the center of the right and left sides.
- Packaging: pickup at our production site without packaging, or two 40 mm polystyrene sheets with perimeter edge protectors.
How to choose the options
- Wall sign with spacers: four holes at the corners and straight cutting.
- Hanging panel: two holes at the center, on the right and left.
- Sheet to be glued or inserted into a base: no holes.
- Logo or free shape: shaped cutting.
- Graphic to be viewed through the sheet: mirror printing Yes.
- Graphic to be viewed on the printed side: mirror printing No.
- Clear sheet without graphics: no print, with cutting and holes of your choice.
Sizes and quantities
Panel dimensions are custom and are entered in centimeters. The quantity starts at 1 piece and goes up to 250. The price is calculated by the configurator based on size, quantity and options.
There is no fixed format: enter the finished width and height. If the sheet goes into a display stand or a frame you already have, measure the seat and enter that size. With shaped cutting, enter the overall dimensions of the shape.
Practical tips for your file
- Check that the file has the same proportions as the sheet you are ordering.
- Decide first which parts must stay transparent: selective white depends on that information.
- If you use holes, keep text and logos away from the corners or the drilling points.
- After filling in the options, review the summary: thickness, white, mirror printing, cutting and holes.
Ordering and file preparation
Choose thickness, print type and processing, then upload your file. The order is completed online, in the configurator. Before sending your artwork, read the file instructions: they matter especially for selective white and for shaped cutting. The configurator shows the available production times; delivery also depends on the shipping method chosen.
How printing on clear plexiglass works
Under Print Type you will find three different paths. It is best to choose it first, because the meaning of the following options depends on it.
- Direct UV printing: the ink is printed directly on the sheet. The configurator notes describe it as suitable for indoors and also usable outdoors, with an indicative durability that depends on conditions and exposure.
- Adhesive PVC application: the graphic is printed on an adhesive film, which is then applied to the panel. On this page the film is the adhesive PVC for illuminated signs.
- No print: you receive the sheet only, with no print or film, in the format and thickness chosen. It serves as a neutral support or for later processing.
The other options complete the job: sheet thickness, white printing, mirror printing, cutting, holes and packaging. Each one is explained in the sections that follow.
Direct UV printing or adhesive PVC: how to choose
The two solutions put the graphic on the sheet in different ways, and the difference shows in everyday use.
With direct UV printing the graphic is printed on the plexiglass. It is the most straightforward route when you want a sign, a decorative panel or a countertop display, and when the graphic plays with the transparent parts of the sheet.
With adhesive PVC application the graphic sits on a film. PVC for illuminated signs is a translucent polymeric film, different from clear PVC. On clear plexiglass it is normally combined with polymeric lamination of Extra UV Guard quality, gloss or matte. One practical advantage: the graphic can be replaced while keeping the support, when the condition of the sheet allows it.
- You want a printed sheet with transparent parts, to be viewed as it is: consider direct UV printing.
- You are making a panel for an illuminated sign: consider adhesive PVC for illuminated signs.
- You plan to change the graphic over time and keep the same sheet: the adhesive film makes replacement possible.
- You only need the cut and drilled sheet: choose No print.
Lamination: gloss, matte or none
Lamination is a protective film applied over the print. The configurator offers three options.
- None: the print has no additional protection. The notes recommend it only for temporary indoor use.
- Gloss lamination with UV filter: glossy film that protects the print from scratches, sunlight and weather.
- Matte lamination with UV filter: matte film with a satin anti-glare effect, with protection from scratches and sunlight.
Without lamination the sheet is fine for a short-term indoor installation, such as an event or a seasonal window display. If the panel must stay on display for a long time, or is touched and cleaned often, consider one of the two laminations.
The choice between gloss and matte is mainly visual. Gloss gives a shiny surface. Matte removes reflections, and is useful when the panel is near a window or under direct light and must stay readable.
Then there are two quality options, which should be kept consistent with each other.
- Material Quality: Standard or Long Life. Long Life corresponds to polymeric PVC, recommended together with polymeric lamination for prolonged display.
- Lamination Quality: Standard or Extra UV Guard. Standard is monomeric lamination, consistent with economy PVC: it adds scratch protection and makes cleaning easier. Extra UV Guard is long-life polymeric lamination, consistent with polymeric PVC, and is the pairing normally recommended for translucent PVC for illuminated signs.
The durations given in the option notes are indicative. They depend on conditions of use and exposure, and assume lamination.
Sheet thickness: 3, 5 or 10 mm depending on use
All three sheets are clear plexiglass. What changes is the thickness, and with it the sturdiness and the presence of the edge.
- Plexiglass 3 mm: rigid clear support with a glossy, luminous effect. Used for elegant panels, signs and refined displays.
- Plexiglass 5 mm: a sturdier sheet than the 3 mm, halfway between the two sizes.
- Plexiglass 10 mm: the sturdiest of the three, with the most prominent edge.
Before choosing, ask yourself where the sheet will go. If it has to fit into a base, a leaflet holder or a frame you already have, measure the seat and check which thickness fits. If the sheet stays visible with a free edge, thickness becomes part of the look: a thin edge is barely noticed, while a 10 mm edge is visible from far away.
White printing: practical examples
On a clear material, white is not a color like the others. It is the opaque layer that decides how much you can see through the graphic.
- Solid logo on a clear sheet: Selective Areas white. The opaque white ink is applied only under the logo, which appears solid with vivid colors, while the rest of the sheet stays transparent.
- Full-sheet photo or illustration: Full Area white. The white layer covers the whole printed surface and the colors appear solid even on a transparent material.
- Sign with lettering and a transparent background: Selective Areas white under the lettering, so the text can be read even with a dark wall behind it.
The file must make clear which areas receive the white. How to mark them is explained in the file instructions: read them before preparing the artwork, not after.
Mirror printing: when the graphic is viewed through the sheet
The question to ask yourself is simple: which side of the sheet will the viewer be on?
- Mirror Printing No: normal print, not flipped. This is the case when the graphic is on the face turned toward the viewer.
- Mirror Printing Yes: the graphic is printed flipped like a mirror. It is needed when the print is on the back face and is read through the sheet. It is the same principle as window graphics applied on the inside of a glass and seen from outside.
- Not sure: the team reviews the file and the intended use and decides whether mirror printing is needed.
An example: a sign fixed to a wall with the print on the back, facing the wall, is viewed through the plexiglass. In this case mirror printing is needed. If instead the print is on the outer face, choose No.
Straight or shaped cutting
Straight cutting is a straight cut to size on all four sides, with a router or cutter. The sheet arrives rectangular, in the requested dimensions. It is the standard choice for signs, information notices and wall panels.
Shaped cutting follows a vector path with CNC routing. It allows free shapes, curved profiles, cut-out lettering and decorative forms. It is used for freestanding shapes, dimensional letters, scenic elements and panels with a non-rectangular shape. The file must contain a dedicated cutting path.
If you need a particular shape but the graphic is simple, consider shaped cutting anyway: the outline of the sheet also communicates. If instead the sheet goes into a frame or a profile, straight cutting is the most direct route.
5 mm holes: wall-mounted or hanging
The Drilling option offers 5 mm holes in two positions.
- Four holes at the corners: for wall fixing with screws or spacers. It is the typical configuration for signs mounted away from the wall.
- Two holes at the center right/left: holes at the center of the right and left sides, for hanging the panel horizontally.
- No holes: for sheets to be glued, inserted into a base or simply placed.
When you choose holes, remember that that area of the sheet is not available for the graphic. Keep text and logos away from the corners or from the center of the sides, depending on the drilling chosen.
Pickup or protective packaging
Under Packaging you decide how to receive the sheets. With pickup you collect them directly at the production site, without additional packaging. This option is not shipping. If the sheets have to travel, choose the packaging with two 40 mm polystyrene sheets and perimeter edge protectors, designed to protect the panel during shipping. Shipping is then chosen when you place the order.
Preparing your file for printing on plexiglass
A clear sheet highlights every detail of the file. Here is what to check before uploading.
- Proportions: the file must have the same proportions as the size ordered, width by height.
- Margins: trimming can remove 1-2 mm. Keep essential text, logos and borders at least 2-3 mm inside the finished format.
- Shaped cutting: include the dedicated cutting path. If the graphic extends to the path, an outer bleed is needed: the size is given in the file instructions.
- Straight cutting: for any bleed, see the file instructions.
- White: decide which parts stay transparent and mark them as explained in the file instructions.
- Holes: leave the drilling areas free.
If you are in doubt about any point, read the file instructions before sending your artwork. It is easier to fix the file before the order than after.
Configuration examples
Four common cases, with the options to set. They are starting points: adapt sizes and quantities to your project.
- Sign for an office, mounted away from the wall: plexiglass 5 or 10 mm, direct UV printing, Selective Areas white under text and logo, mirror printing Yes if the print goes on the back of the sheet, straight cutting, four holes at the corners.
- Price holder or countertop sign in a base: thickness compatible with the seat of the base, Selective Areas white, mirror printing No, straight cutting, no holes.
- Shaped logo for a reception: direct UV printing, Full Area white under the logo if it must look solid, shaped cutting with a dedicated path in the file, drilling according to the fixing system.
- Neutral sheet for your own installation: No print, straight or shaped cutting, holes if you need them.
In all cases, if you are not sure about mirror printing, choose Not sure: the team will review the file and the intended use.
How to order, step by step
- Enter the dimensions in centimeters and the quantity, from 1 to 250 pieces.
- Choose the thickness under Panel Type: 3, 5 or 10 mm.
- Select the print type: direct UV, adhesive PVC or no print.
- Complete material, quality and lamination, if your choice includes them.
- Set white printing and mirror printing.
- Choose cutting, drilling and packaging.
- Review the summary and upload your file.
The price updates as you fill in the options, based on size, quantity and options.
Frequently asked questions about printing on plexiglass
What is white printing for on clear plexiglass?
To give the graphic a white base. You can request it on selected areas, leaving the other areas transparent, or over the whole print.
When should I choose mirror printing?
When the image has to be read through the sheet, and is therefore printed as a mirror image. If you do not know which case is yours, the configurator offers the answer Not sure.
What thicknesses are available?
3, 5 and 10 mm, all in clear plexiglass.
Can I get the panel already drilled?
Yes, with four holes at the corners or with two holes at the center, one on the right and one on the left.
Can I print a photo on plexiglass?
Yes, the sheet is printed with the file you upload. For a full image consider Full Area white, so the colors do not let the background show through.
Can I order a clear sheet without printing?
Yes, with the No print option. The sheet is still cut and, if you request it, drilled.
Is a shape other than a rectangle possible?
Yes, by choosing shaped cutting.
How is the sheet packed?
Between two 40 mm polystyrene sheets with perimeter edge protectors. Alternatively you can pick it up at our production site without packaging.
Can I use the printed sheet outdoors?
The configurator notes describe direct UV printing as suitable for indoors and also usable outdoors. PVC for illuminated signs is also suitable for outdoors if laminated. In both cases the durability is indicative and depends on conditions and exposure.
What is the difference between Standard and Extra UV Guard lamination?
Standard is monomeric, consistent with economy PVC. Extra UV Guard is long-life polymeric, consistent with polymeric PVC, and is the pairing normally recommended for PVC for illuminated signs.
Can I change the graphic and keep the same sheet?
With adhesive PVC application the graphic sits on a film, which can be replaced while keeping the support when the condition of the sheet allows it.
Does shaped cutting require a special file?
Yes. The file must contain a dedicated vector cutting path, which the CNC routing follows to produce the shape.
Related products
If the sheet should be milky rather than clear, see Opal plexiglass printing. Both processes are gathered in Plexiglass printing.
This page is dedicated to the clear sheet. If you need a milky sheet, go back to opal plexiglass printing. To see all plexiglass processes together, open the plexiglass printing category.
If you are looking for a sign for the entrance of an office or a company, also see the Plexiglass signs page. If the panel must be lit from behind, see Backlit panels. To compare plexiglass with other rigid materials, start from the Panel printing category.
Dall’idea al file pronto per la stampa
Con il servizio di progettazione grafica puoi creare una nuova composizione, vettorializzare un logo o adattare immagini e impaginazione al prodotto scelto. Condividi materiali e indicazioni in chat e rivedi le anteprime prima della preparazione dei file finali.
Scopri il servizio di progettazione grafica
Il servizio grafico è incluso nel prezzo di stampa?
La progettazione grafica è un servizio a pagamento, acquistabile separatamente. Il controllo del file di stampa rimane compreso nel prezzo del prodotto; per creare o modificare la grafica puoi acquistare il servizio dedicato.
Total: 38,30 € (VAT included)