Photo print on Forex
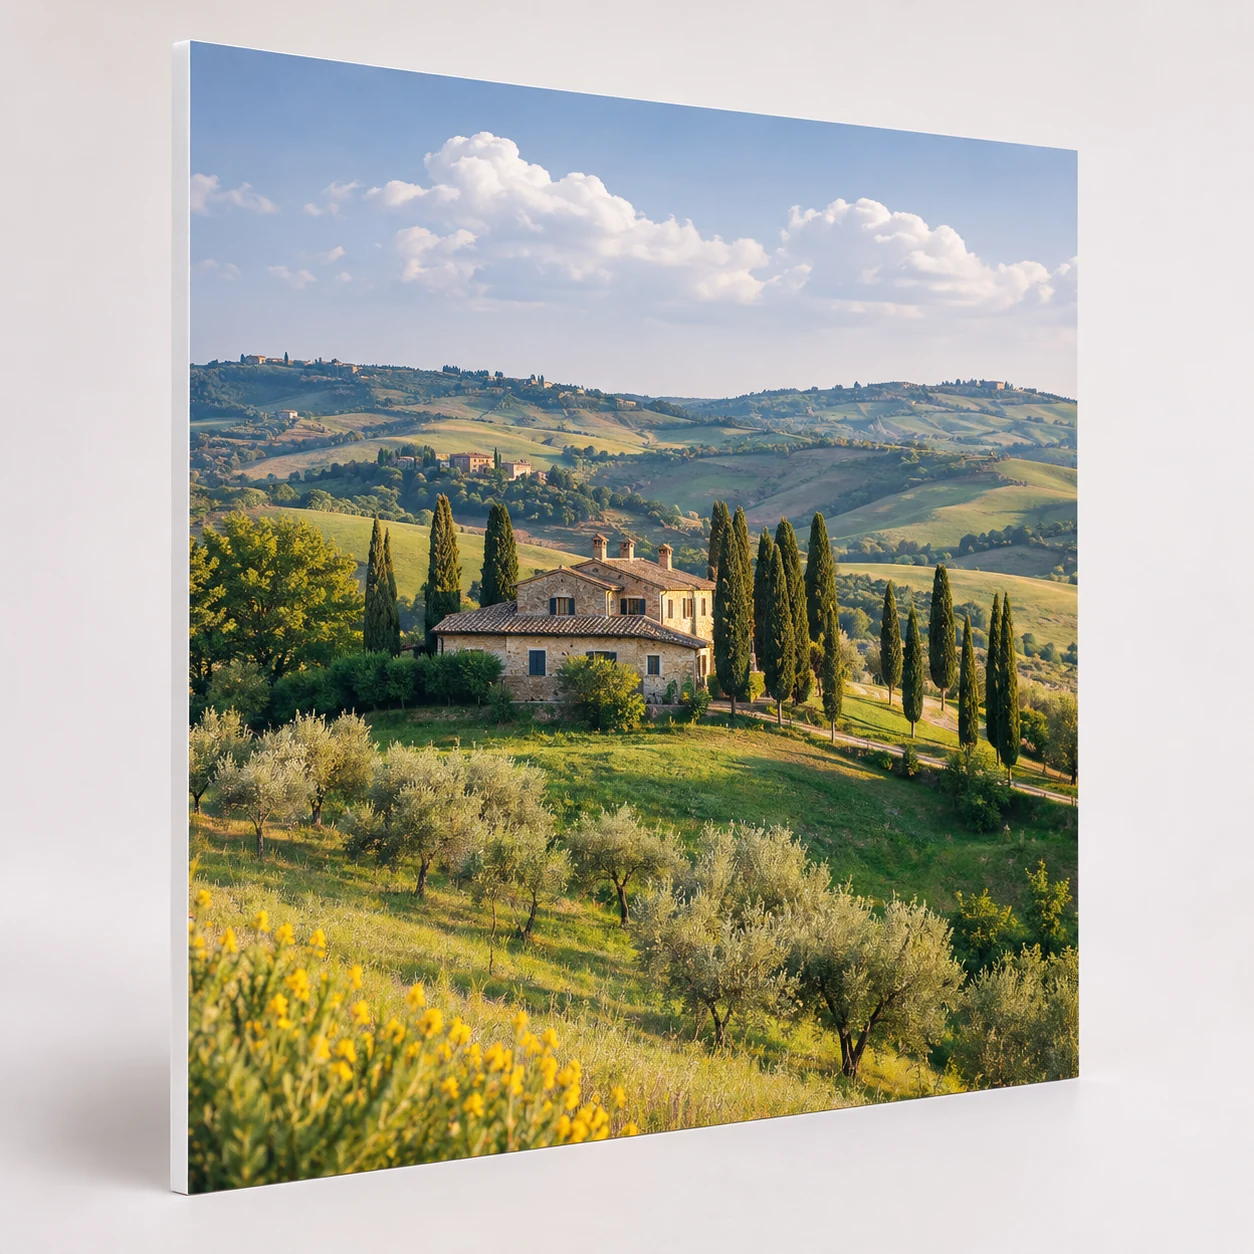
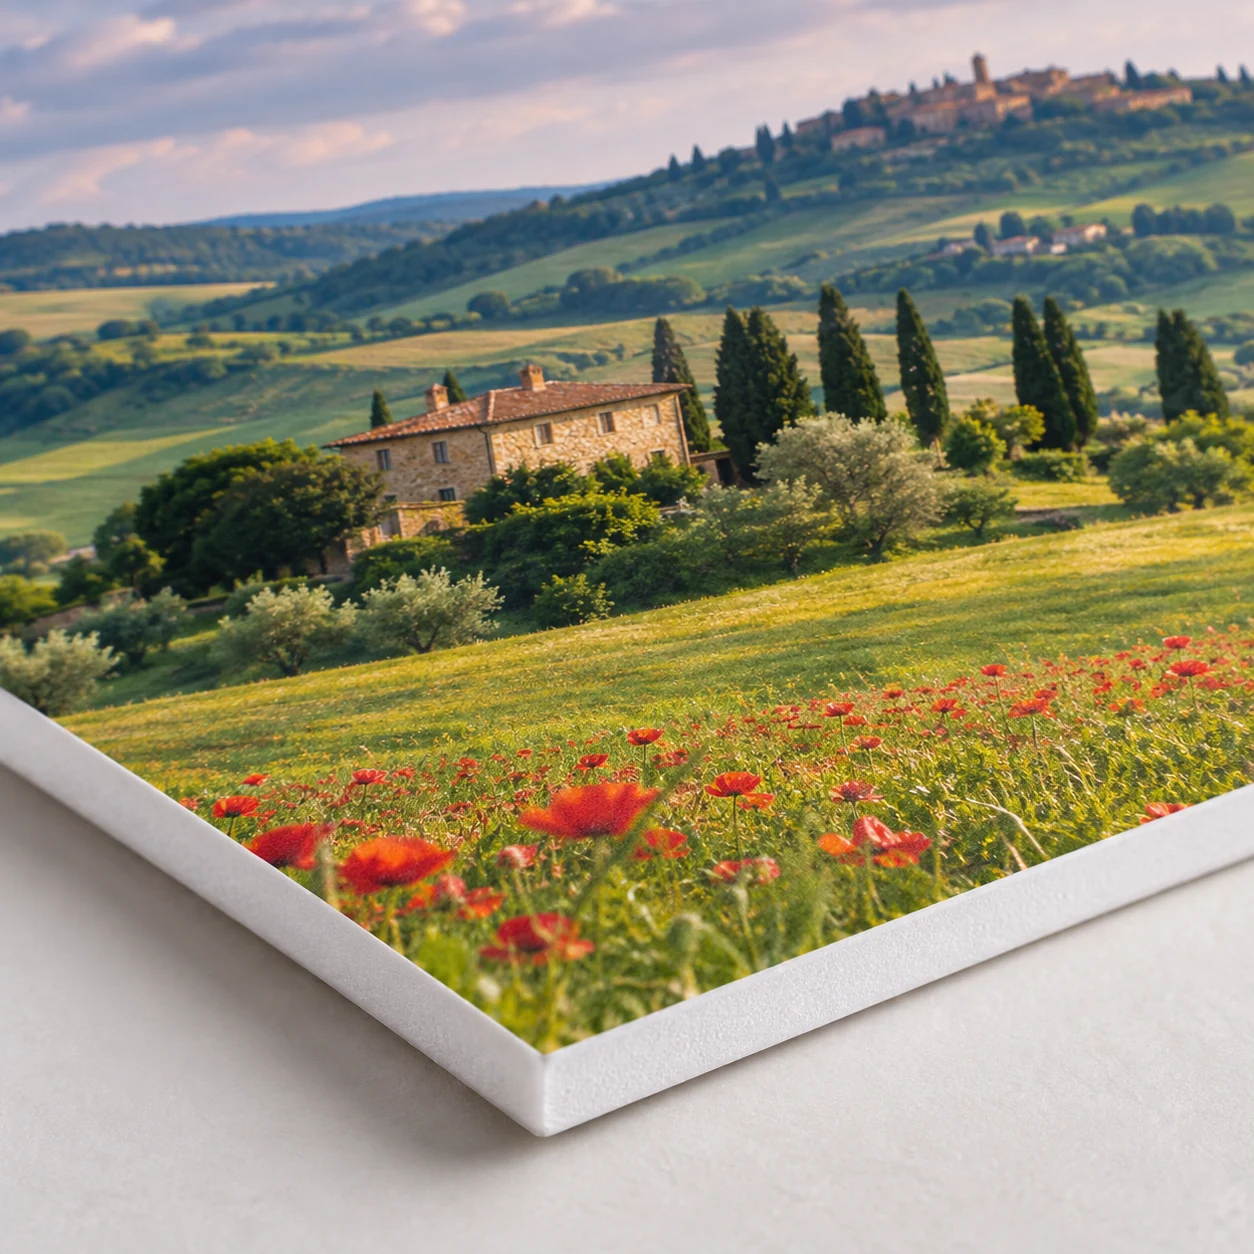
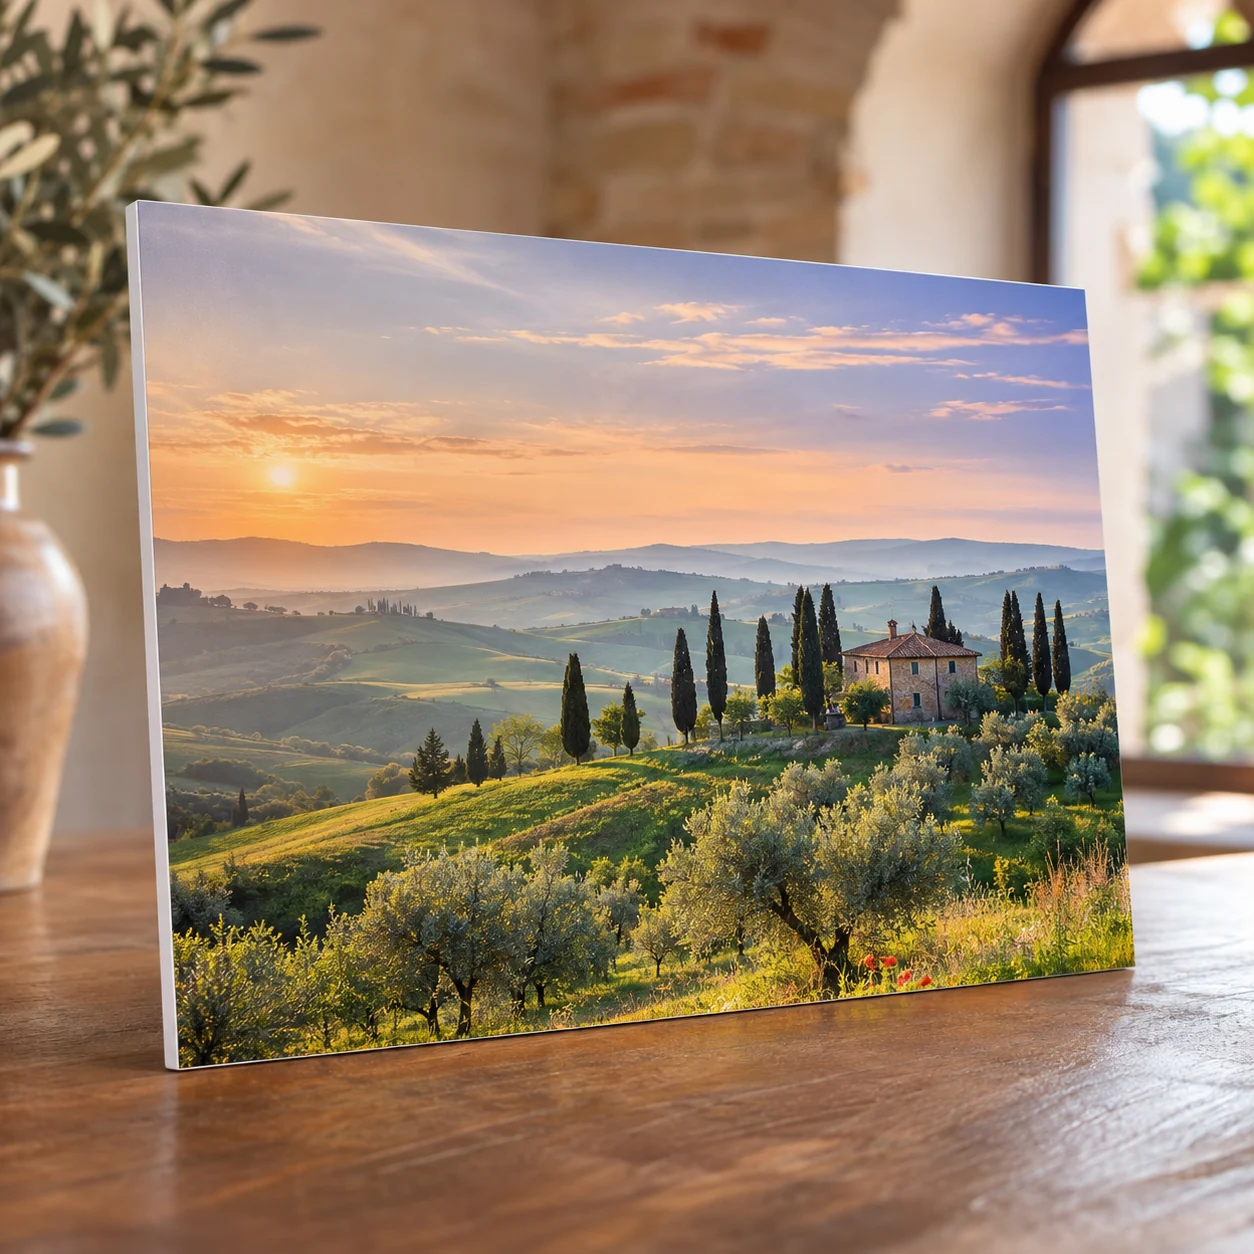
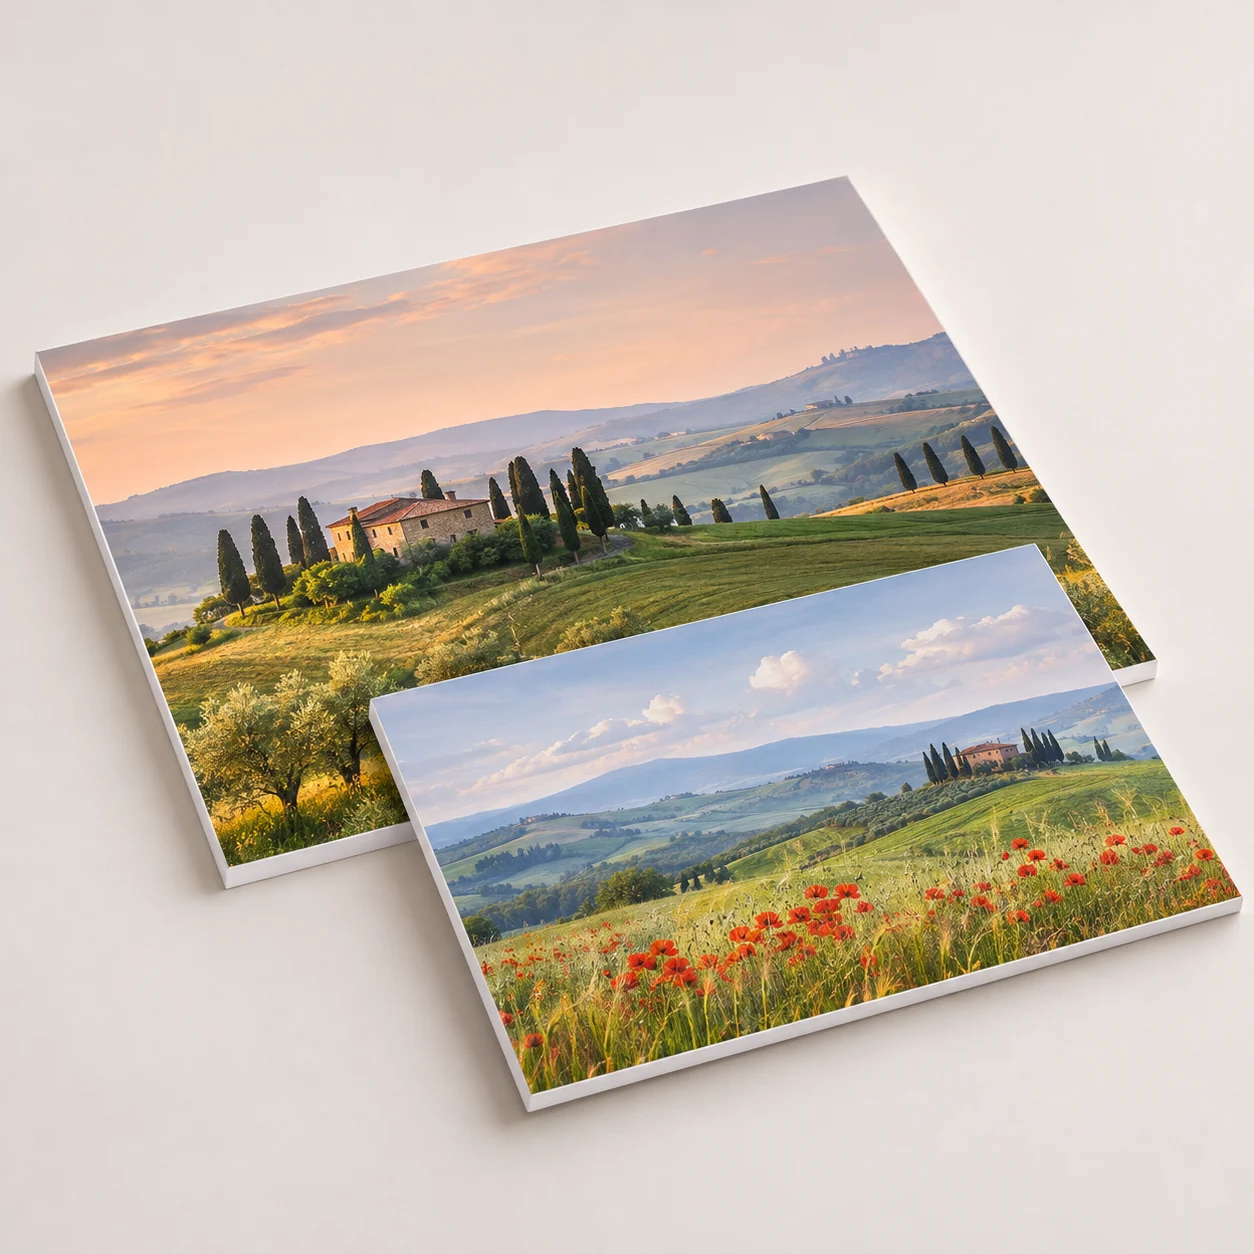
Quantity: 1; Dimensions in CM: 100x100; Panel Type: 3 mm Forex; Print type: Direct UV printing; Front/Back Print: No; Cut: Straight Cut; Rear mounting: None; Packaging: Two 40 MM polystyrene sheets with perimeter bumper
The photo print on Forex reproduces your image directly on the panel with UV printing on one side. Choose Forex in 3, 5 or 10 mm, sizes in centimetres and quantity, even a single piece. The cut is square. A rigid, lightweight support for photographs, exhibitions and decoration of offices and shops. You can choose protective packaging for shipping or pickup at our premises without packaging.
Take a look at these too
Photo print on Forex with direct UV printing
Your photograph is printed directly onto a Forex panel, a rigid, lightweight foam PVC board. The flat surface and exposed edge suit photo exhibitions, images for offices and shops, and arrangements of several photos on the same wall.
What a photo print on Forex is used for
The printed panel is displayed as it is, with the edge visible. Here are the most common uses.
- Photo exhibitions: a series of images in the same thickness, with the size best suited to each shot.
- Offices and meeting rooms: photographs of the area, the products or the team on the walls.
- Shops and showrooms: atmosphere images next to the displayed products.
- Home: a travel, family or event photo to hang in the living room or bedroom. If you prefer canvas for your home, you can also see the photo and illustration canvas prints.
- Wall arrangements: several panels side by side, even in different sizes, to tell the story of a trip, a project or a company.
Thickness, size and quantity
Choose Forex in 3, 5 or 10 mm and enter width and height in centimetres. The 3 mm is the lightest of the available thicknesses; as the thickness increases, so does the rigidity, and the edge becomes more noticeable. For a series of images, also consider the weight and the system you will use to display them.
The three boards differ as follows. Forex 3 mm is the lightest foam PVC in the product page. Forex 5 mm is a rigid, lightweight support, suitable for most displays. Forex 10 mm is the maximum thickness, with great structural rigidity.
Under Rear fixing you decide how to hang the panel. With None the photo print on Forex arrives without a fixing system: this is fine if you rest it on a shelf or an easel, or if you use your own mounting system. With Adhesive hanger on the back you receive a plastic adhesive hanger applied to the back of the panel, to hang it on the wall from a nail or a screw.
You can order from 1 to 250 panels. The price is calculated on the size, thickness, quantity and packaging you choose.
How to choose the thickness of your photo print on Forex
Start from the size and from how you will display the panel.
- Small and medium photos to hang: the 3 mm is the lightest board, useful when you want to keep the weight down, for example in an arrangement with many panels.
- General use: the 5 mm is the rigid, lightweight support that suits most displays.
- Large sizes or panels that stand on a surface: the 10 mm has the greatest rigidity and a more noticeable edge, which gives the image visual depth.
The edge of the Forex remains visible at the side. With the 10 mm it is more noticeable and the panel has more presence on the wall; with the 3 mm it stays thin and discreet.
If you are preparing a series for the same wall, use the same thickness for all the panels: the exposed edges will match and the arrangement will stay tidy.
Photo sizes and proportions
In the configurator you enter width and height in centimetres, with no mandatory formats. There is only one rule to follow: the proportions of the panel must match those of the photo, or those of the crop you want to obtain.
- Many cameras shoot in a 3:2 ratio: sizes such as 30x20 or 60x40 cm keep the full framing.
- Many smartphones shoot in a 4:3 ratio: in this case consider sizes such as 40x30 or 60x45 cm.
- For a square panel, such as 50x50 cm, the photo has to be cropped: you decide which part to keep.
To find out the proportions of your photo, look at the width and height in pixels in the file properties and compare them with the panel size. If the ratio does not match, part of the image will have to be cut: it is better that you decide this before ordering.
Also pay attention to orientation. Enter width and height each in its own field: for a vertical photo the height is the larger value, for a horizontal photo the width is.
How the print is made
The photo is reproduced with direct UV printing on one side only. The cut is square: you receive a square or rectangular panel in the proportions you set. This product is dedicated to photography printed on the board, with a few essential choices to define the result.
Prepare your photograph
Upload the original file at the highest resolution available. Avoid using a preview downloaded from a chat or a screenshot: enlarging it does not recover the details of the original photograph. Check the image at the print size and choose a ratio between width and height that matches the framing.
A simple check: open the photo at 100% on screen and look at faces and details. If you already see graininess or blurred outlines on screen, they will be more evident at the print size. In that case choose a smaller size or another shot.
If you change the proportions, check the crop before confirming: faces, text and important details must stay within the visible area. Graphic elements can reach the edge; for text and logos leave at least 2-3 mm of distance, because the cut can affect 1-2 mm of the edge. For this print on a panel you do not need extra centimetres of margin.
A wall with several photos on Forex
An arrangement of panels is designed first on paper or with a layout program. Draw the wall to scale, position the photos and leave a constant distance between one panel and the next. Then turn each box into a configuration with its own size.
If several panels have the same photo and the same size, you just need to increase the quantity. With the adhesive hanger on the back each panel hangs independently: mark on the wall the position of the nails or screws before mounting the series. For a mixed wall you can place the panels next to the canvas prints.
Packaging and order
For shipping you can choose the packaging with two 40 mm polystyrene sheets and perimeter corner protection. Pickup at our premises without packaging is also available. Before ordering, check size, thickness and quantity in the summary.
The configurator shows the expected production end date. The day of arrival also depends on the destination and on the chosen transport.
How to order your photo print on Forex
- Enter the quantity: from 1 to 250 panels with the same image and the same size.
- Enter width and height in centimetres.
- Choose the type of panel: Forex 3 mm, 5 mm or 10 mm.
- Direct UV printing, printing on one side only and square cut are the only options in their respective fields.
- Decide the rear fixing: none or adhesive hanger on the back.
- Choose the packaging. With pickup at our premises the panels are not packed: bring protection with you for transport.
- Check the summary and upload the photograph.
Frequently asked questions
Can I print just one photo on Forex?
Yes, the quantity starts from one panel. For a wall with different photographs, prepare one configuration for each image and size.
Do I have to choose a standard photo format?
No, enter width and height in centimetres. Check that the proportions match the photo you want to print.
Is the panel also printed on the back?
No, the print is on one side only.
How do I hang the photo print on Forex?
Under Rear fixing choose the adhesive hanger on the back: it is a plastic hanger applied to the panel, which you hook on a nail or a screw in the wall. With the None option the panel arrives without a fixing system and you mount it with your own system. The panel has no holes.
Where can I display the panel?
At home, in the office, in a shop or at an exhibition; the panel can also be used outdoors. Choose thickness and fixing with the same criteria described above.
Which thickness should I choose for a large photo?
The larger the size, the more rigidity matters. The 10 mm is the most rigid Forex on the product page, the 5 mm is suitable for most displays, the 3 mm is the lightest.
Can I have a shaped panel or one with rounded corners?
No, the cut is square: the panel is square or rectangular.
Compare the other supports
For a different effect of the support, discover the photo prints on Plexiglas and the photo prints on aluminium. You will find the alternatives in the Canvas prints and pictures category.
Here is how to find your way among the linked pages:
- This page: for your photograph on a rigid, lightweight foam PVC panel, with direct UV printing.
- Photo prints on Plexiglas: if you prefer a Plexiglas sheet for the same image.
- Photo prints on aluminium: if you are looking for a photograph printed on aluminium.
- Canvas prints and Photo and illustration canvas prints: when you want the photo or an illustration printed on canvas.
- Print on rigid panel: custom pictures: to compare custom pictures on a rigid panel.
- The categories Canvas prints and pictures and Photo printing, canvas prints collect the other products for photographs and pictures.
Dall’idea al file pronto per la stampa
Con il servizio di progettazione grafica puoi creare una nuova composizione, vettorializzare un logo o adattare immagini e impaginazione al prodotto scelto. Condividi materiali e indicazioni in chat e rivedi le anteprime prima della preparazione dei file finali.
Scopri il servizio di progettazione grafica
Il servizio grafico è incluso nel prezzo di stampa?
La progettazione grafica è un servizio a pagamento, acquistabile separatamente. Il controllo del file di stampa rimane compreso nel prezzo del prodotto; per creare o modificare la grafica puoi acquistare il servizio dedicato.
Total: 25,27 € (VAT included)